LED Display Wireless Lavalier Mic for iPhone & iPad
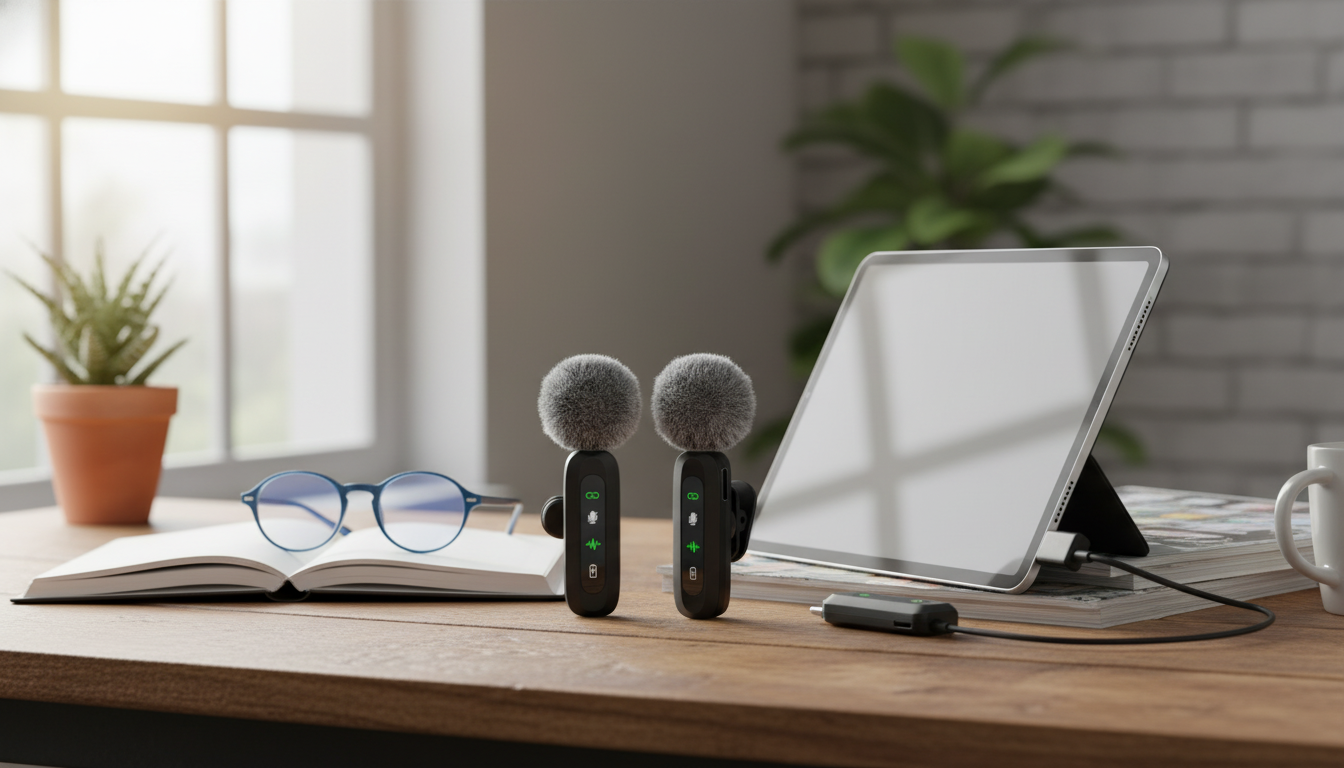
Wireless Lavalier Microphone with LED Display for iPhone & iPad
Clear voice makes every clip feel more professional—whether it’s a vlog, live stream, class recording, interview, or quick product demo. A wireless lavalier mic built for iPhone and iPad helps keep audio consistent while staying hands-free, and an LED display adds quick visibility into status details so recording isn’t a guessing game.
If you’re ready to upgrade from built-in device audio without adding bulky gear, the Wireless Lavalier Microphone with LED Display for iPhone & iPad is a practical, creator-friendly option that’s in stock for quick turnaround.
What a wireless lavalier mic changes for iPhone and iPad recording
iPhone and iPad cameras are strong enough for daily content, but audio is often the difference between “watchable” and “scroll past.” A wireless lavalier microphone changes the capture point: instead of recording from the device a few feet away, your voice is picked up close to your mouth where it’s naturally clearer.
- Keeps the microphone close to the speaker’s mouth for stronger, more consistent vocal pickup than a phone at arm’s length.
- Reduces room echo and background wash by capturing a higher ratio of voice-to-environment.
- Frees up hands for demonstrations, cooking, teaching, fitness videos, and walk-and-talk shots.
- Helps maintain steady volume even when moving around the frame.
- Simplifies dual-device setups when switching between iPhone and iPad for different workflows.
For basic capture tips and app usage, Apple’s guides for the Camera app and Voice Memos can be useful references when confirming settings and saving files.
LED display: small feature, big practical benefit
On a busy shoot day, most mistakes aren’t creative—they’re technical. An LED display helps reduce the “Did it connect?” moments that can lead to silent clips or unusable takes.
- Provides quick at-a-glance confirmation that the system is powered and ready before pressing record.
- Helps avoid silent failures caused by low battery, mis-pairing, or an unmuted/muted state (depending on model behavior).
- Improves confidence for solo creators who can’t monitor audio constantly.
- Supports smoother takes by minimizing stop-and-check interruptions between clips.
- Useful when recording outdoors where phone screen visibility can be limited.
That “status at a glance” advantage is especially noticeable during fast-paced filming—short-form batches, event coverage, classroom recordings, or quick interviews where you don’t have time to troubleshoot between every clip.
Quick compatibility checklist for iPhone & iPad
Before any purchase (and before any important recording), it helps to run a simple checklist. iPhone and iPad generations vary, and apps sometimes handle external audio differently.
- Confirm the connector type needed for the device in use (many iPhones and iPads require Lightning or USB-C depending on generation).
- Check whether the iOS/iPadOS recording app supports external microphones (most camera, voice memo, and video apps do; some social apps may vary by version).
- Decide if the mic will be used for calls/meetings, live streaming, or only local recording—some apps handle external inputs differently.
- Plan for charging: ensure the mic system can be charged conveniently between sessions.
- Test before important shoots: verify input selection, levels, and that audio is being captured in the final file.
For a quick refresher on why different microphone types behave differently (pickup, placement, and typical uses), BBC Academy’s audio basics overview is a solid primer: Microphones and their uses.
Where this mic fits best: common use cases
Typical setups and what to prioritize
| Scenario | Mic placement | What to watch for | Helpful habit |
|---|---|---|---|
| Talking-head video | Clip 6–8 inches below the mouth | Clothing rustle from collars or necklaces | Do a 10-second test clip before the take |
| Interview | One mic per speaker when possible | Distance changes when turning heads | Ask speakers to keep a consistent posture |
| Cooking/demo | Upper chest, away from utensils | Loud clanks and fan noise | Lower background audio in the room where possible |
| Fitness | Secure to a tighter layer | Sweat and fabric movement | Use a firm clip point and check stability mid-session |
| Outdoor walk-and-talk | Under a lapel edge or stable seam | Wind bursts and traffic | Choose sheltered spots for key lines |
Getting better sound in minutes: placement and handling tips
Care, charging, and storage for reliable daily use
Wireless Lavalier Microphone with LED Display for iPhone & iPad: highlights and value
Pairing audio upgrades with simple on-camera polish can also help content feel more “finished” without extra production time. If you want camera-ready accessories that stay comfortable during longer shoots, consider adding a soft hair piece for tidy framing—like the Spring Plaid Wide Padded Headband – Chic Cotton Blend Hair Accessory or the Retro Corduroy Hair Scrunchies & Headbands – Large, Soft & Stylish.
For the core upgrade that audiences notice immediately—clearer speech—start with the Wireless Lavalier Microphone with LED Display for iPhone & iPad and build from there.
FAQ
Will a wireless lavalier microphone work with both iPhone and iPad?
Yes, as long as the connector matches your device (Lightning or USB-C depending on model) and the app you’re using supports external microphone input. Do a short test recording in the exact app you plan to use before an important shoot.
What does the LED display help with during recording?
It gives a quick visual check that the system is powered and ready, and it can make it easier to notice status changes before you record a long take. That reduces the odds of finishing a clip only to discover the mic wasn’t connected or was low on battery.
How can clothing noise be reduced with a clip-on mic?
Clip the mic to a stable area of fabric, keep it away from collars and jewelry, and avoid loose layers that can rub as you move. Record a brief movement test and listen back to confirm the audio stays clean.


Leave a comment