Endoscope-Guided Car A/C Vent Cleaning for Fresh Air
Clean Car A/C Vents with Confidence Using a Visual Endoscope Cleaning Gun
Musty odors and weak airflow often start deep inside the evaporator box and vents—areas that are hard to reach and harder to verify. A cleaning gun paired with a high-definition visual endoscope makes it possible to apply cleaner precisely and confirm results in real time, helping restore fresher air and more consistent airflow without guesswork.
Why buildup forms inside the A/C system
Your automotive HVAC system constantly moves air that carries dust, pollen, and tiny organic particles. When that airflow meets cold A/C components, moisture becomes the problem that turns “normal dust” into stubborn grime.
- Condensation on the evaporator creates a damp surface where dust and organic debris can cling.
- Cabin air filters capture a lot, but fine particles still settle in ducts and on fins over time.
- Short trips and frequent recirculation can leave moisture behind, increasing odor risk.
- Visible dust at the vents is often only a small portion of what’s inside the ductwork.
Because mold and mildew thrive in moist environments, a damp evaporator case can become a recurring odor source. For general background on mold conditions and prevention, the U.S. Environmental Protection Agency’s mold basics is a helpful reference.
What a cleaning gun with a visual endoscope changes
Traditional vent sprays can freshen the first few inches of ducting, but they rarely confirm whether the dirtiest areas were actually treated. A camera-guided approach turns A/C vent cleaning from “spray and hope” into a repeatable process.
- Live video helps locate the dirtiest areas instead of spraying blindly into the nearest vent.
- Targeted cleaning reduces overspray onto dash surfaces and trims cleanup time afterward.
- Seeing foam coverage helps avoid under-application (ineffective) and over-application (excess runoff).
- Inspection after cleaning helps confirm whether a second pass is needed.
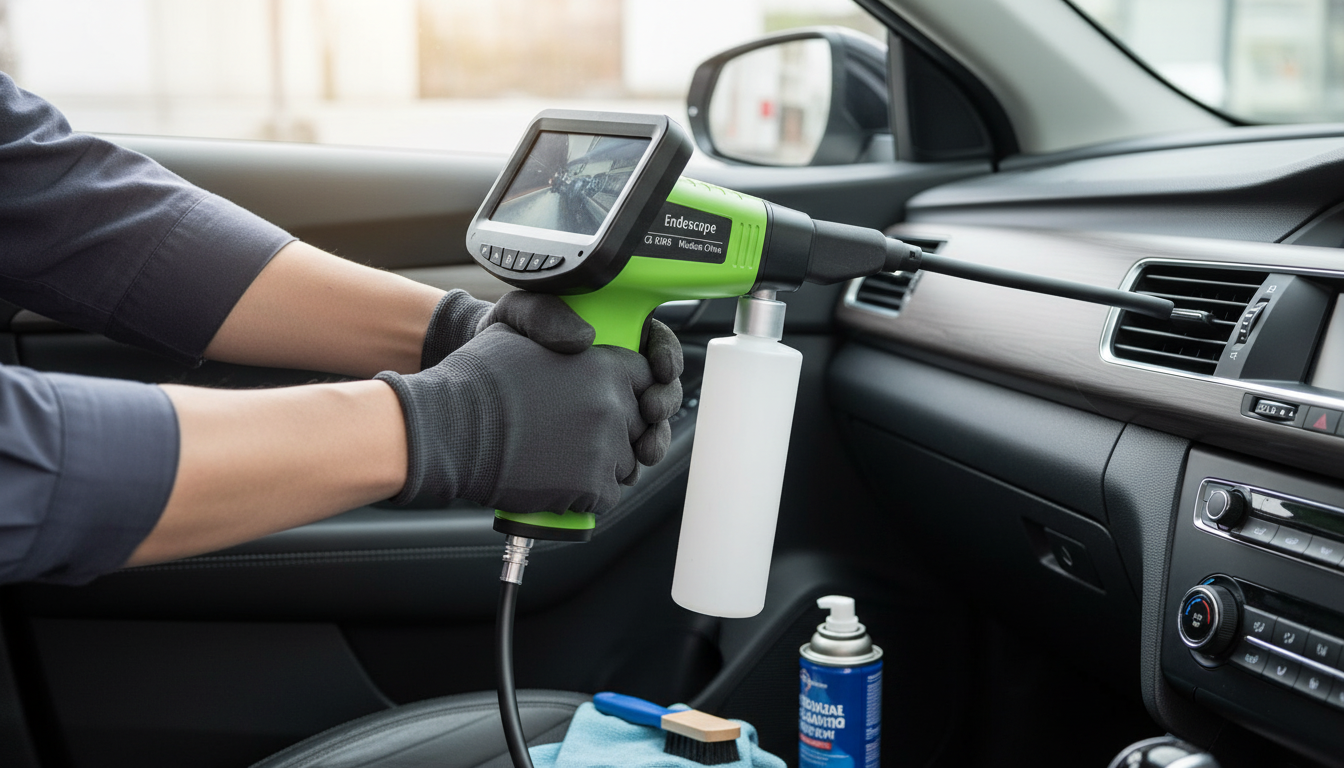
Key parts and how they work together
A visual endoscope cleaning gun setup is simple, but each component has a specific role. When they’re matched correctly, you can reach deeper, apply more evenly, and verify results before you put everything back together.
- Spray/foaming gun: delivers cleaner into vents and ducts with controlled output.
- Endoscope camera: provides a clear view inside vent passages and hard-to-see corners.
- Nozzle/tube: reaches deeper into ducts than a standard aerosol straw.
- Cleaner selection: foaming A/C cleaners cling to surfaces longer and are designed for HVAC components.
- Basic controls: aim for adjustable flow so output can be matched to duct size and contamination level.
For broader context on cabin air quality and filtration research, SAE International publishes extensive automotive HVAC and air-quality materials.
When this tool is most useful
Some symptoms point to contamination beyond what a cabin air filter replacement can solve. If the odor or airflow problem returns quickly, it usually means the “source surface” was never fully treated.
- Recurring musty or sour odor shortly after replacing the cabin filter.
- Inconsistent airflow from left vs. right vents with no obvious obstruction at the grille.
- Dust blowout after fan startup, especially after long parking periods.
- Used-car refresh where interior detailing didn’t remove HVAC smell.
Step-by-step cleaning approach (visual-guided)
Always follow the instructions on the specific HVAC cleaner being used, but a visual-guided workflow typically looks like this:
Safety and vehicle-care tips
Tool comparison: visual endoscope vs. traditional methods
Common A/C cleaning options and what to expect
| Method | What it reaches | Best for | Limitations |
|---|---|---|---|
| Aerosol vent spray (no camera) | Near-vent sections | Light odors, quick refresh | Low visibility; may not treat evaporator area effectively |
| Foaming cleaner + cleaning gun (no camera) | Deeper duct sections | More thorough duct cleaning | Still relies on guesswork for coverage and target areas |
| Cleaning gun + high-definition endoscope | Deep ducts with visual confirmation | Odor troubleshooting and targeted cleaning | Requires careful handling and a bit more setup time |
| Professional HVAC service | Evaporator box and drains (varies) | Severe odor, confirmed mold, drain issues | Higher cost; scheduling and access vary by vehicle |
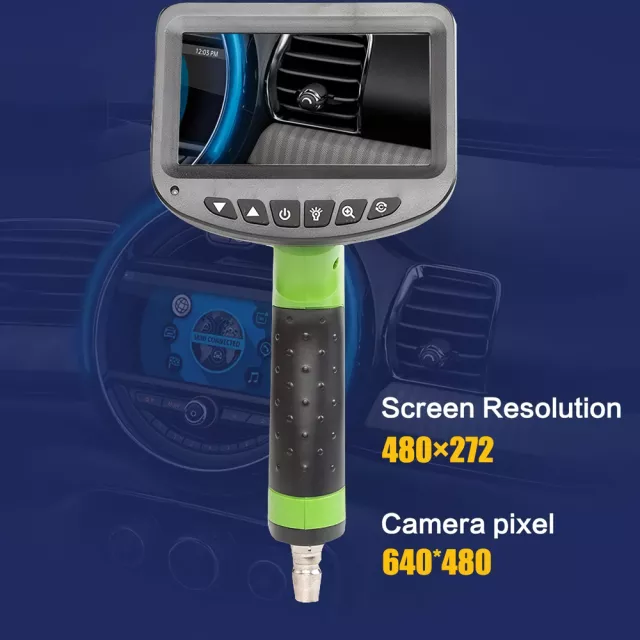
Product spotlight: High-Definition Car Air Conditioner Cleaning Gun with Visual Endoscope
The High-Definition Car Air Conditioner Cleaning Gun with Visual Endoscope combines a cleaning applicator with a high-definition camera view to reduce guesswork. It helps inspect vent ducts before cleaning, apply foam more precisely, and confirm results afterward—especially useful when a smell keeps returning or airflow feels uneven across vents.
After cleaning, many drivers like to finish with a simple cabin refresh detail. If you want a small interior accent that clips right onto the vent without interfering with cleaning access later, consider Crystal Moon & Star Car Vent Clips.
Maintenance cadence and aftercare
FAQ
Will cleaning the vents remove the musty smell completely?
It often helps, but not always completely—odors can come from duct buildup, evaporator surfaces, or a drain issue that keeps moisture trapped. Visual inspection lets you see whether contamination remains and whether a second pass or professional service is warranted.
Is it safe to spray cleaner into the dashboard vents?
Yes when you use an automotive HVAC-approved cleaner, protect nearby electronics and trim, and apply in short bursts to avoid excess liquid. Follow the product’s dwell and fan-run instructions, then ventilate the cabin well afterward.
How often should the A/C system be cleaned if an endoscope is available?
A practical cadence is once or twice per year, or whenever odors and airflow changes appear. Humid climates, frequent short trips, and neglected cabin filters can justify more frequent inspections and spot-cleaning.


Leave a comment