Water-Drop Makeup Sponge: Seamless Base, No Streaks
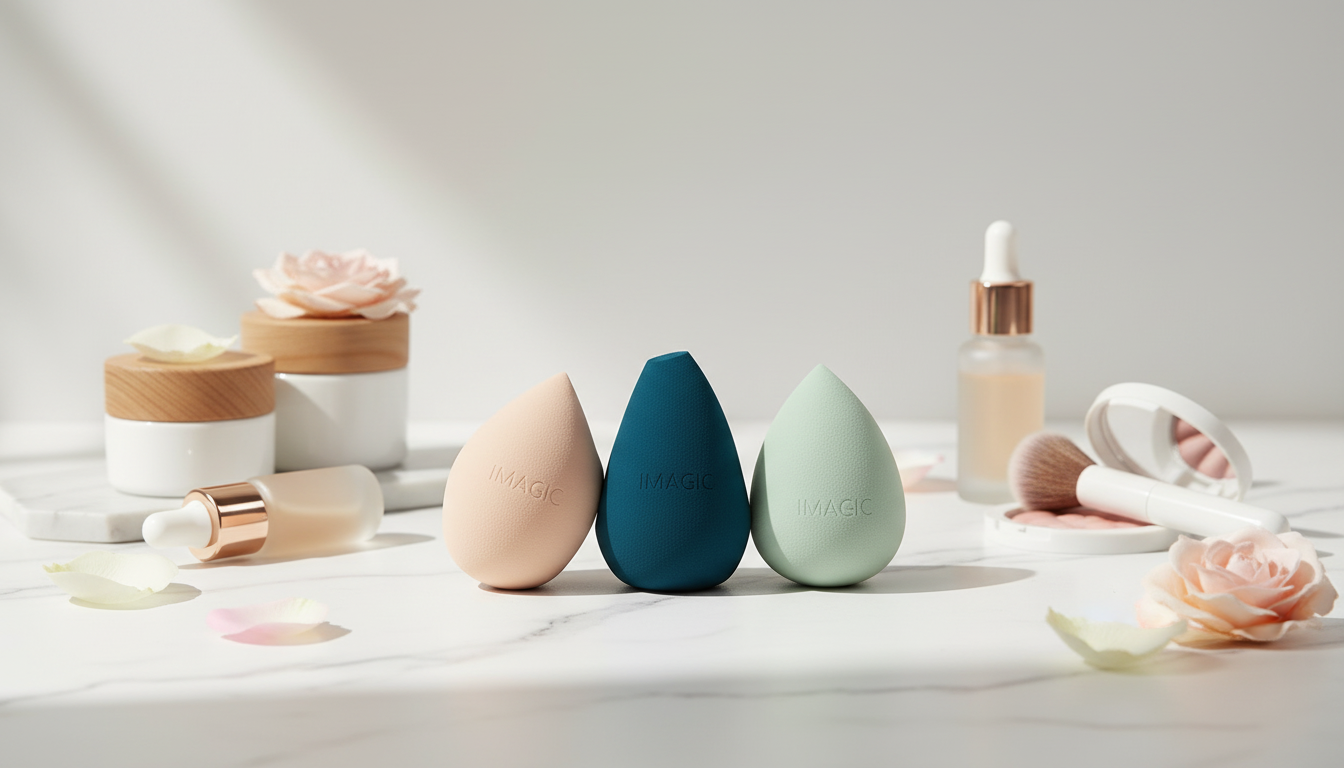
Water-Drop Makeup Sponge for Smooth, Flawless Blending
A water-drop shaped makeup sponge is a simple tool that can make foundation, concealer, and other cream products look more “melted in” and even. The rounded base blends quickly across larger areas like cheeks and forehead, while the tapered tip reaches tight spots—around the nose, under the eyes, and along blemishes—without leaving harsh edges. For more guidance, see Beauty Review: MakeupDrop Silicone Makeup Applicator.
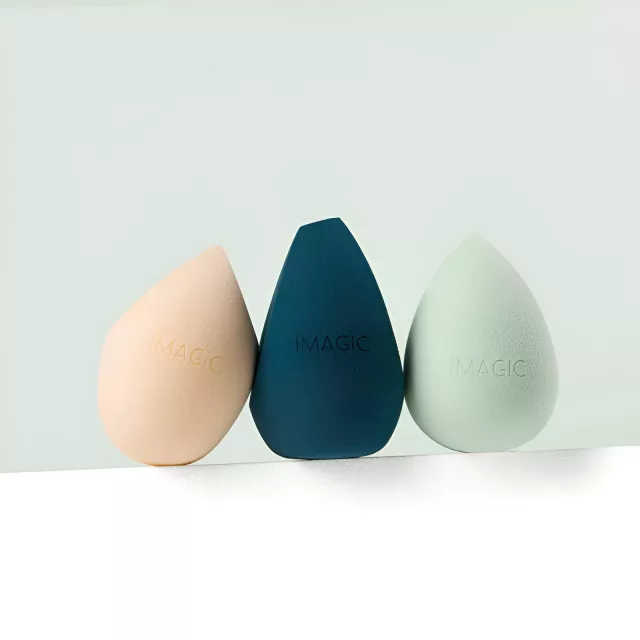
Why the Water-Drop Shape Works So Well
- Rounded base for fast blending: Smooths product over cheeks, forehead, and jawline efficiently without creating lines.
- Pointed tip for precision: Helps place and blend product around the eyes, nostrils, and small areas of redness or discoloration.
- Curved sides for pressing product in: Encourages a more seamless finish by pushing product into skin instead of moving it around on top.
- Made for bouncing (stippling): A tapping motion reduces streaks compared to dragging or swiping.
Best Uses: What to Apply With It
- Liquid foundation: Build light-to-medium coverage with a natural, skin-like look.
- Concealer: Tap gently—especially under the eyes—to avoid lifting coverage.
- Cream blush and bronzer: Diffuse edges quickly for a soft gradient instead of a hard stripe.
- Setting powder (lightly): Press in a small amount with a minimally damp sponge to set without caking.
- Touch-ups: Use the tip to tidy product around smile lines and the sides of the nose.
Damp vs. Dry Application (And When to Choose Each)
Most people get the most forgiving blend with a sponge that’s damp—not dripping—because it adds slip and helps product spread evenly. Dry application can be useful when you want extra coverage or you’re spot-concealing and don’t want to thin the product out. For further reading, see Makeup Tips for People With MS | National MS Society.
- Damp: Smoother finish, easier blending, less chance of a heavy-looking base.
- Dry: More coverage, great for targeted concealing or a fuller-glam base.
- Best baseline: Start damp for liquids/creams, then add product only where you need more.
- If using dry: Blend with shorter bounces to avoid patchiness.
Quick Guide to Using a Water-Drop Sponge
| Goal | Sponge State | Technique | Where It Shines |
|---|---|---|---|
| Natural, skin-like finish | Damp (squeezed well) | Bounce/stipple | Foundation on cheeks/forehead |
| More coverage | Dry or barely damp | Short, controlled bounces | Redness and uneven tone |
| Precise blending | Damp | Use pointed tip to tap | Under-eye, sides of nose |
| Softening edges | Damp | Clean side to blur borders | Cream blush/bronzer edges |
| Setting without heaviness | Barely damp | Light press/roll | T-zone, under-eye (careful) |
Step-by-Step: Smooth, Flawless Blending Routine
- Prep skin: Moisturize and give skincare a minute to absorb. Apply primer if you use one.
- Dampen correctly: Wet the sponge, squeeze thoroughly, then wrap it in a towel and press again so it’s plump and damp—not dripping.
- Base: Apply a small amount of foundation to the back of your hand or directly on the face. Blend with the rounded base using a bouncing motion.
- Detail areas: Use the pointed tip around nostrils, inner corners, and under the eyes. Avoid rubbing to prevent streaks.
- Conceal strategically: Apply concealer sparingly and tap outward at the edges. Keep the highest coverage where it’s needed most.
- Add cream color: For blush/bronzer, bounce along the edge first to blur the border, then lightly tap over the center to merge layers.
- Set only where needed: Press a small amount of powder with a clean side, then lightly sweep away excess if necessary.
Avoiding Common Sponge Mistakes
- Over-wetting: A dripping sponge can dilute product and contribute to separation. Aim for “plump and damp.”
- Dragging: Swiping can lift base makeup and create streaks. Bounce instead.
- Too much product: Thick layers can emphasize texture. Build in thin passes and spot-correct.
- Skipping cleaning: Buildup can cause uneven blending and may irritate skin.
- Using one side for everything: Reserve a cleaner side for final blending and pressing powder.
Cleaning, Drying, and When to Replace
Sponges work best when they’re clean and fully dry between uses. For skin health and performance, consistent washing matters—especially if you’re prone to clogged pores or breakouts. Helpful references include the American Academy of Dermatology Association and the U.S. Food & Drug Administration consumer tips on cosmetics and safe routines.
What to Look For in a Great Water-Drop Sponge
Product Picks for an Easy, Polished Routine
- Water-Drop Makeup Sponge for Smooth, Flawless Blending ($5.01): Rounded base for coverage and a tapered tip for detail work with liquids and creams.
- Spring Plaid Wide Padded Headband – Chic Cotton Blend Hair Accessory ($5.97): Keeps hair off your face so you can blend along the hairline and temples without snagging strands.
- Retro Corduroy Hair Scrunchies & Headbands – Large, Soft & Stylish ($5.51): A soft way to secure hair for skincare prep, base makeup, and touch-ups.
FAQ
Should a water-drop makeup sponge be used wet or dry?
Damp is usually best for a smoother, more natural finish because it helps product spread evenly. Wet the sponge, squeeze it out thoroughly, then press it in a towel so it’s damp—not dripping. Use dry (or barely damp) when you want extra coverage in targeted areas.
How often should a makeup sponge be cleaned?
Cleaning after each use is ideal, especially for complexion products. At minimum, deep clean weekly and always let it dry fully in open air to help prevent odor and buildup.
Why does foundation look patchy when using a sponge?
Patchiness usually comes from using too much product, blending by dragging instead of bouncing, or working with a sponge that’s either dripping wet or overly dry. Try thinner layers, bounce in short taps, and make sure skin is moisturized so foundation doesn’t cling to dry spots.


Leave a comment