Mini Cone & Cylinder Drill Pads for Wheels & Headlights
Small Pads, Big Reach: Why Cone & Cylinder Kits Matter
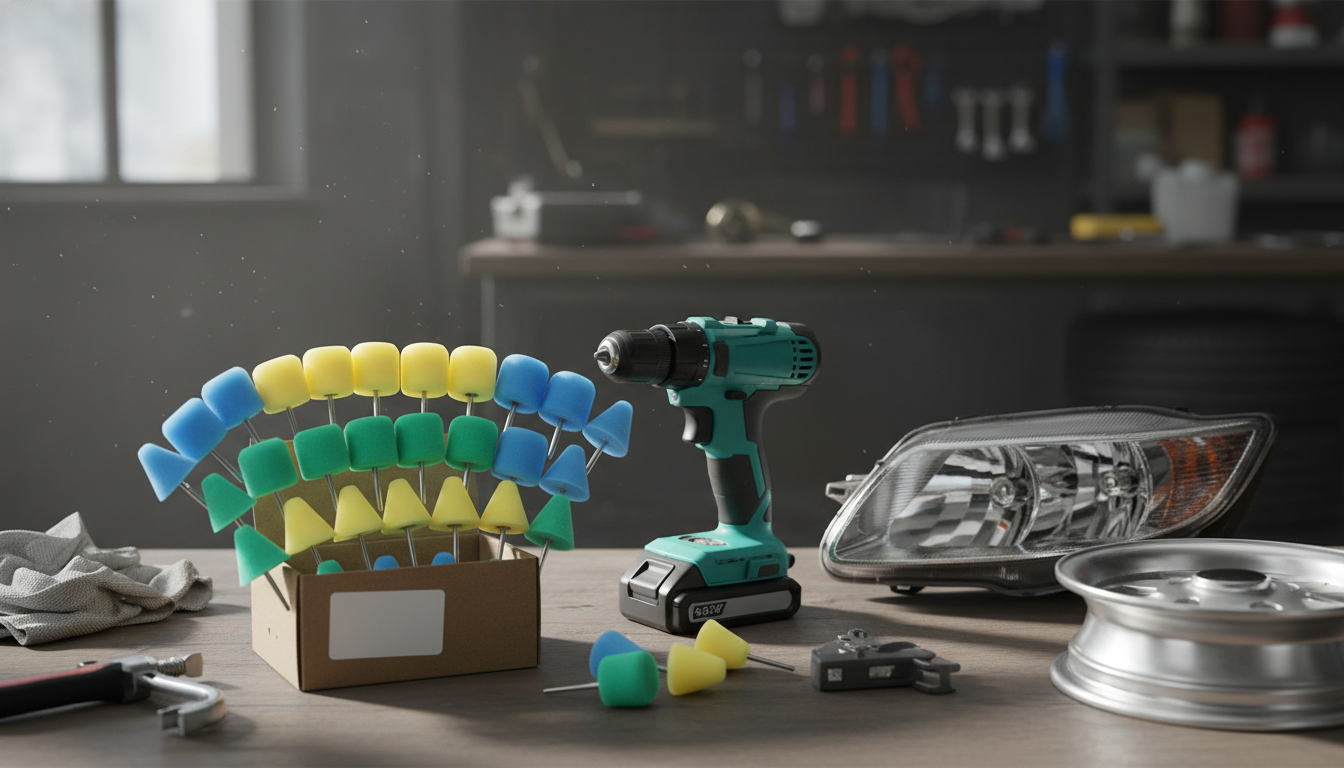
A compact cone-and-cylinder pad set is made for the areas that “regular” flat pads can’t comfortably reach—tight curves, lug recesses, and the rounded contours of headlight lenses. Used with a standard drill, these mini pads help refine clarity on plastic lenses and refresh the look of wheel faces when paired with the right polish and a careful, low-heat technique.
If you’re looking for a practical spot-polishing solution, the Mini Polishing Cone & Cylinder Pad Kit for Wheels, Headlights & Drill is designed around those hard-to-access shapes where precision matters more than pad size.
What This Pad Kit Is Best At
- Reaching narrow wheel details: spokes, lug nut pockets, and rim lips
- Following curved surfaces on headlights and fog lights
- Spot-polishing small areas without pulling out a full-size polisher
- Light correction and finishing when paired with appropriate compounds
- Quick touch-ups for oxidation, haze, and minor scuffs (surface-level)
Kit Overview: Shapes, Use Cases, and Setup
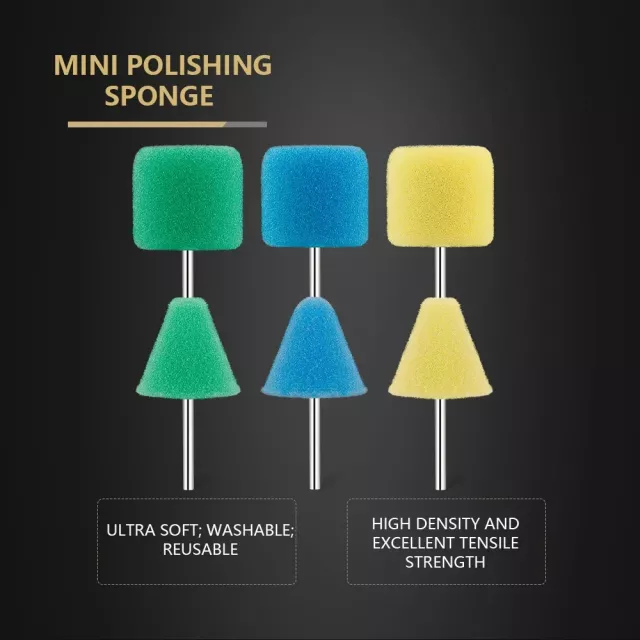
Cone pads are ideal for tapered areas and corners, while cylinder pads handle small flat-to-gently curved sections. Mounted on a drill, they’re best used at steady low-to-medium speed with light pressure—especially on plastics where heat can build quickly.
As with any polishing step, the surface should be thoroughly cleaned and decontaminated first. Any grit left behind can get caught in the pad and act like sandpaper, reducing gloss and creating extra haze you’ll have to correct later.
Pad Shape Guide (Typical Uses)
| Pad shape | Best for | Suggested drill speed | Notes |
|---|---|---|---|
| Cone | Lug recesses, spoke edges, tight curves | Low–medium | Keep moving to avoid heat buildup on plastics |
| Cylinder | Small flat sections, wheel faces, trim pieces | Low–medium | Use lighter pressure near sharp edges |
| Cone (tip area) | Corners, creases, emblems, hard-to-reach pockets | Low | Great control; avoid lingering on one spot |
How to Use with a Drill (Quick Start)
- Preparation: wash the area, dry fully, and mask nearby trim or paint edges when working close to sensitive surfaces
- Prime the pad: apply a small amount of polish/compound to the pad and spread it on the surface before starting the drill
- Start slow: begin at low speed to distribute product, then increase slightly only as needed
- Use light pressure: let the pad and polish do the work; excessive pressure increases heat and can haze plastics
- Work in small passes: overlap passes and keep the pad moving; wipe residue and inspect frequently under good lighting
- Finish and protect: after polishing headlights, apply a UV protectant or sealant; for wheels, add a wheel sealant for easier cleaning
For a clean workflow, keep a few microfiber towels ready—one for initial wipe-off and a second for a final buff. On headlights, that final buff often reveals whether you truly refined the haze or simply spread it around.
Headlight Polishing: Practical Sequence
Headlight lenses are usually polycarbonate, which can oxidize and turn cloudy over time. Polishing can improve light haze and restore crispness, but severely yellowed lenses often require a full restoration process before polishing becomes effective.
- Clean lens thoroughly; remove embedded grime with a dedicated cleaner if needed
- For heavy oxidation, use a restoration approach (often includes sanding steps) before polishing; polishing alone may not fix deep yellowing
- Use a plastic-safe compound for initial clarity, then a finishing polish to refine and reduce haze
- Keep speed low and monitor temperature; plastic softens with heat and can turn cloudy if overheated
- After clarity improves, protect with a UV-resistant coating or sealant to slow re-oxidation
Good lighting is your best “tool” here: inspect from multiple angles, and stop frequently to check whether you’re actually correcting the haze or just filling it temporarily with residue.
For broader headlight safety context, see NHTSA – Headlights. For restoration process guidance and product-system examples, refer to 3M – Headlight Restoration (Automotive).
Wheel and Metal Polishing: Where It Shines
Wheels are full of tight geometry: spoke junctions, lug holes, valve stem pockets, and sharp transitions where grime accumulates. Mini cone and cylinder pads are especially useful for these “small but visible” areas that make wheels look dull even after a wash.
- Targets tight wheel geometries: around valve stems, spoke junctions, and lug holes
- Pairs well with metal polishes for chrome or polished alloys (confirm wheel finish first)
- Avoid aggressive compounds on coated or painted wheels unless the product is labeled safe for that finish
- Rinse or wipe residue promptly; some metal polishes can stain porous or matte surfaces if left to dry
- Use separate pads for metal vs. plastic to prevent cross-contamination and unexpected marring
If you’re detailing the cabin after finishing exterior touch-ups, a small add-on like Crystal Moon & Star Car Vent Clips can be an easy way to refresh the interior look without tools—handy when you’re already in “cleanup mode.”
Safety and Surface Care
Cleaning, Storage, and Longevity
Shop the Tools Mentioned
- Mini Polishing Cone & Cylinder Pad Kit for Wheels, Headlights & Drill
- Crystal Moon & Star Car Vent Clips
FAQ
Will this remove yellowing from headlights?
Light oxidation and haze often improve with polishing, but heavy yellowing usually needs a full restoration process (often including sanding) before polishing. After clarity returns, applying a UV protectant or coating helps slow the yellowing from coming back.
What drill speed should be used for polishing headlights and wheels?
Use low to medium speed and start low to spread product evenly before increasing slightly. Keep the pad moving and avoid heat buildup—especially on plastic lenses—to reduce the chance of clouding or haze.
Can the same pads be used for metal wheels and plastic headlights?
It’s safer to use separate pads for metal and plastic to avoid cross-contamination. Metal polish residue or embedded particles can easily mar softer headlight plastic and create extra haze.


Leave a comment