Soft Air Cushion Puff for Liquid & Powder: Smooth Finish
Soft Air Cushion Puff for Liquid & Powder Makeup: Smooth, Even Coverage in Seconds
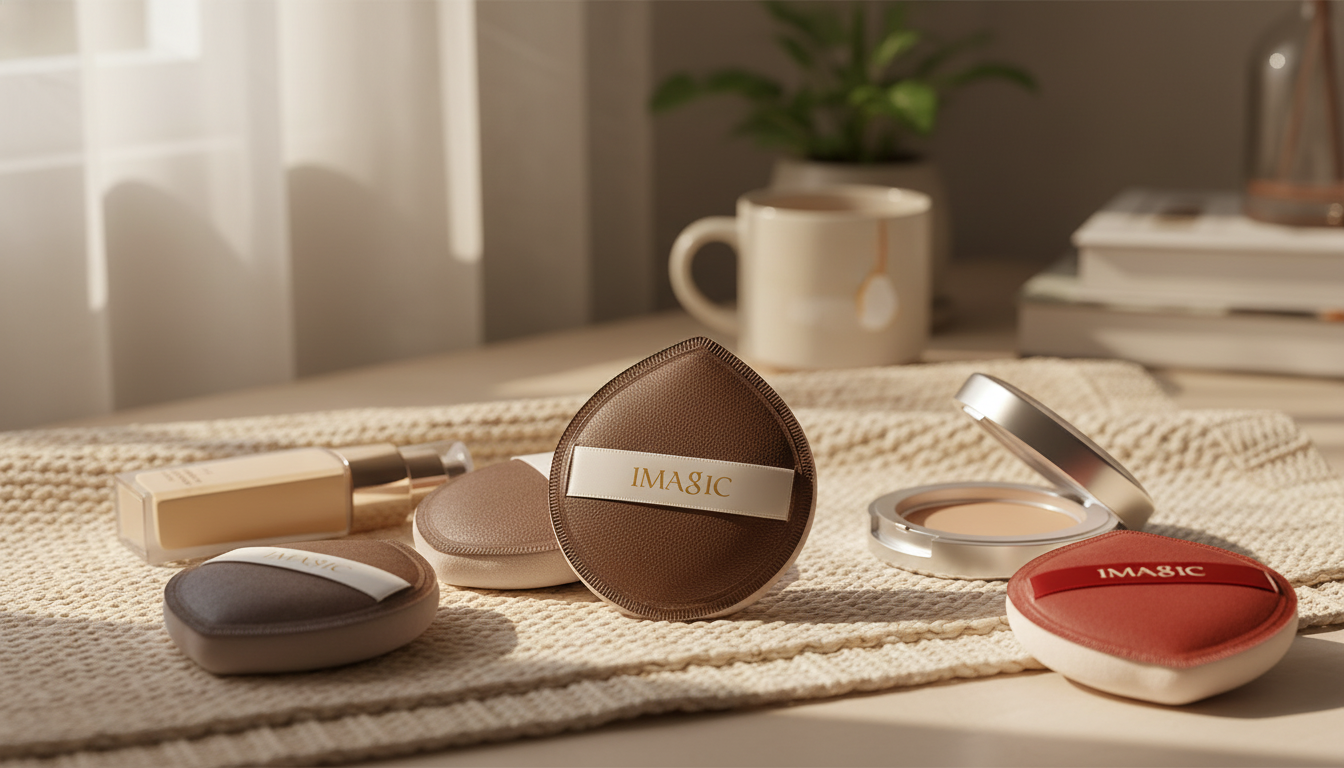
A soft air cushion puff helps press liquid foundation, cream formulas, and setting powder into the skin for a more seamless finish. With the right technique—tapping instead of dragging—it can reduce streaks, soften the look of texture, and make touch-ups faster whether at home or on the go.
What an air cushion puff does differently
An air cushion puff is built for controlled pressing, which can make base makeup look more “merged” with skin instead of sitting on top. Because the surface is soft and flexible, it adapts to curves and small areas that can be tricky with a brush.
- Designed to deposit product with light, controlled pressure for a skin-like finish
- Works well for building coverage gradually—thin layers reduce caking and patchiness
- Helps blend around contours (nose, under-eye, jawline) where brushes can leave lines
- Supports quick touch-ups by pressing product back into areas that separate during the day
If you’re shopping for a puff made for both liquid and powder steps, see the Soft Air Cushion Puff for Liquid & Powder Makeup for a compact, press-and-blend approach that fits easily in a makeup bag.
When to use it: liquid, cream, and powder
The biggest difference you’ll notice is how a puff encourages a tap-and-press motion. That single change can help avoid the streaking that sometimes happens when product is swiped across the skin.
- Liquid foundation: tap to spread and then press to even out; avoid swiping to prevent streaks
- Cushion compacts and tinted moisturizers: pick up a small amount and build in thin layers
- Cream blush/bronzer: place color first, then use the puff edges to diffuse the borders
- Setting powder: press lightly in the T-zone to reduce shine and help makeup last longer
- Under-eye setting: use minimal powder and gentle taps to avoid emphasizing fine lines
How to use for a smoother base (step-by-step)
1) Prep so product doesn’t skid
Apply skincare and let it absorb fully. If you use primer, place it where you need it most (like around pores or in oil-prone areas), and give it a minute to settle so your base doesn’t pill.
2) Pick up less product than you think you need
Start with a small amount on the puff. Overloading is the fastest way to get uneven patches—especially around the nose and under the eyes.
3) Tap to place, then press to finish
Stipple over cheeks and forehead first, then switch to gentle pressing to “seal” the product into a thin, even layer. Pressing (rather than rubbing) helps keep texture from looking emphasized.
4) Refine edges and tight areas
Use the pointed side or edge around the nostrils, hairline, and under-eye area. Short, precise taps tend to look smoother than broad strokes.
5) Build coverage only where needed
Add a second thin layer on redness or discoloration instead of thickening your entire face. Targeted layering typically looks more natural and wears better.
6) Set strategically
Press powder onto areas that crease or get shiny (often the T-zone). For under-eyes, use the smallest amount possible and keep pressure feather-light.
Dry vs damp use: choose the finish you want
One of the easiest ways to adjust your finish is simply changing whether the puff is dry or slightly damp. Dampening can soften the look of fuller-coverage formulas, while dry use can boost pickup for setting and touch-ups.
| Use Mode | Best For | Finish | Quick Tip |
|---|---|---|---|
| Dry | Setting powder, fuller coverage foundation, targeted touch-ups | More matte/coverage-forward | Use light pressure to avoid disturbing base layers |
| Damp | Liquid/cream base, blending edges, reducing cakiness | More skin-like and diffused | Squeeze and blot well to prevent patchiness |
If dampening: use clean water, squeeze thoroughly, and blot on a towel so the puff is not dripping. For long wear, a practical combo is applying liquids with a slightly damp puff, then pressing powder lightly with a dry side (if your puff has one) or a fully dried puff.
Avoid common mistakes (and quick fixes)
Cleaning, drying, and replacement
Because puffs press product directly into the skin, routine washing matters. Keeping tools clean can also support clearer-looking skin—especially if you’re prone to breakouts. For general cosmetic safety guidance, the FDA has helpful basics on product use and shelf life at FDA: Cosmetic Safety, and the American Academy of Dermatology shares tips to reduce acne from makeup at AAD: Prevent acne caused by makeup.
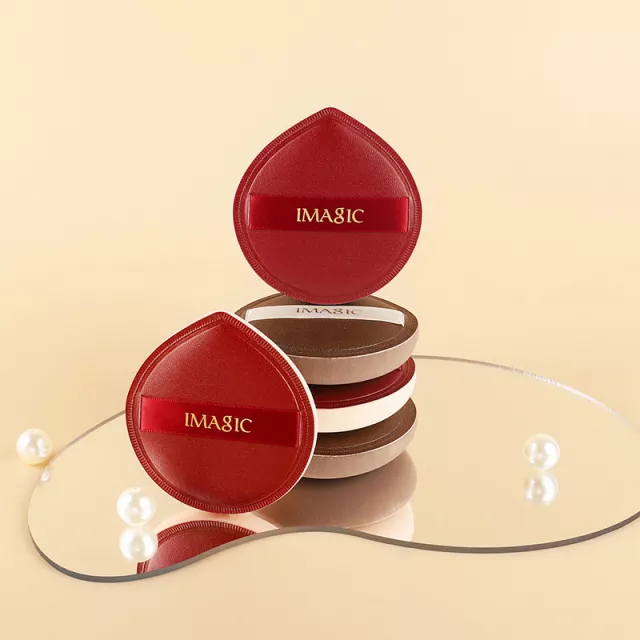
Soft Air Cushion Puff for Liquid & Powder Makeup: quick overview
Travel-friendly add-ons for a cleaner application
- Spring Plaid Wide Padded Headband – Chic Cotton Blend Hair Accessory
- Retro Corduroy Hair Scrunchies & Headbands – Large, Soft & Stylish
FAQ
Is an air cushion puff better than a sponge or brush?
An air cushion puff excels at pressing product in for a smooth, even-looking finish and fast touch-ups. A damp sponge can blend liquids very seamlessly, while brushes can be quick for coverage but may leave streaks depending on the formula and technique.
Can the same puff be used for liquid foundation and setting powder?
Yes, but it’s best to use separate sides (if available) or clean between steps so liquid and powder don’t mix and turn muddy. Apply liquid first, let it settle briefly, then press powder lightly where you need it.
How often should a makeup puff be washed?
With frequent use, wash every few uses (at minimum weekly). If you’re acne-prone, washing after each use is a safer routine, and always let the puff dry completely before storing.


Leave a comment