Suction Roof Bike Carrier Setup for MTB & Road Bikes
Versatile Suction Roof-Top Bike Carrier – Easy Install for MTB and Road Bikes
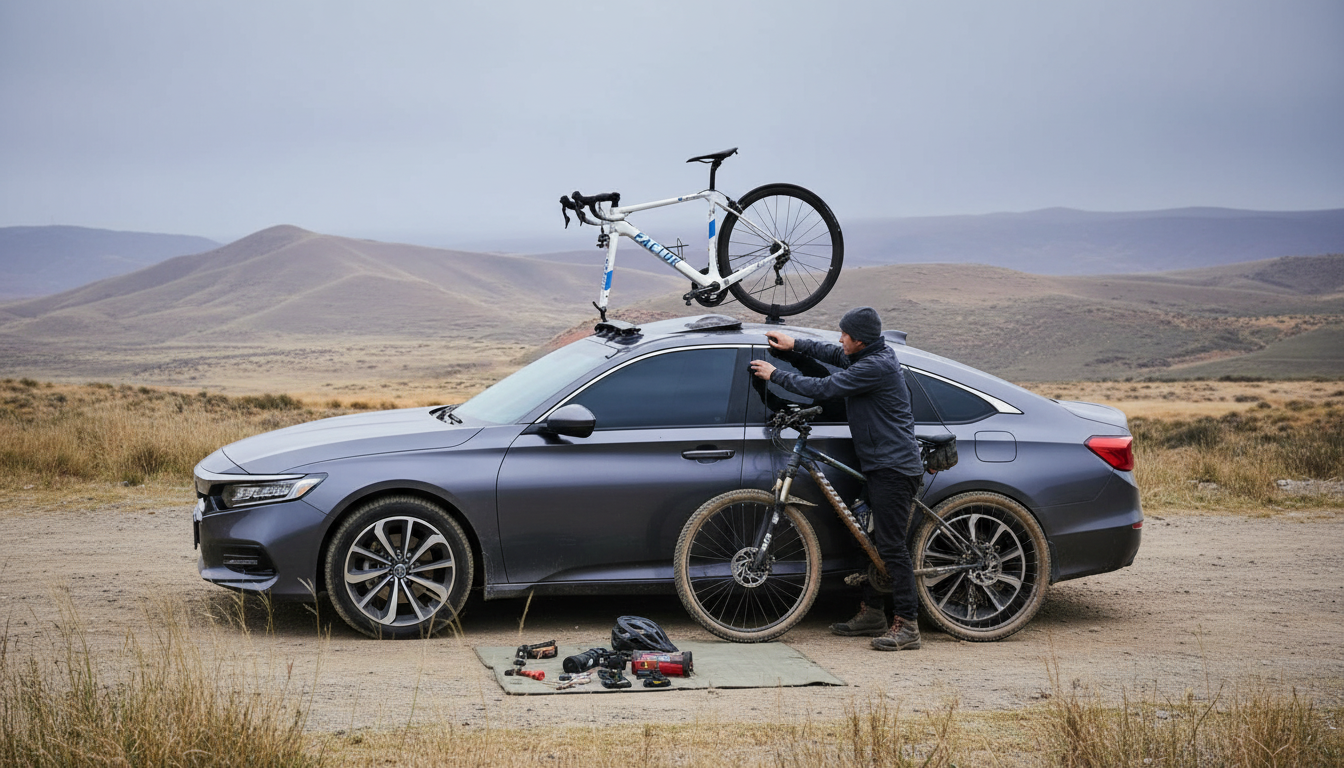
A suction-mounted roof-top carrier is a quick, low-commitment way to haul a bike without crossbars or a permanent rack. For riders who bounce between a weekday road bike and a weekend mountain bike, the appeal is simple: a clean roofline when you’re not carrying, and a fast setup when you are. Below is a practical guide to compatibility, a clean install routine, and a pre-drive check that helps prevent the most common problems.
Why a suction roof-top carrier makes sense for mixed bike garages
Not every driver wants a full-time rack. Suction roof systems are built for flexibility, especially when your vehicle serves multiple jobs.
- Quick on/off convenience: Perfect for drivers who switch between carrying a bike and keeping the roof clear for everyday use.
- Rental- and apartment-friendly: No permanent hardware, no need to store long crossbars, and easier to keep everything compact indoors.
- One carrier style for multiple bikes: A versatile suction setup can work across different frame shapes when you match the interface to your axle standard and wheel needs.
- Smaller storage footprint: Many suction carriers pack down neatly compared with full roof rack towers and bars.
Vehicle and bike compatibility checks before buying or mounting
Suction systems can be extremely solid when used on the right surfaces and with the right bike interface. Before purchasing or mounting, run through these checks.
- Roof surface: Suction cups need a smooth, non-porous surface. Avoid heavily textured plastic roof sections and areas with deep channels or sharp ridges.
- Roof shape and clearance: Confirm you can position the bike without hitting antennas, roof rails, or sunroof edges. Also consider hatch clearance if you’re loading on a crossover or SUV.
- Bike interface: Know whether the carrier holds the bike by fork, wheel, or a combination, and whether it requires removing the front wheel.
- Axle type readiness: Verify if your front end is quick release or thru-axle, and confirm any adapter compatibility. (A helpful overview of standards is available from Park Tool’s thru-axle guide.)
- Wheel and tire size: Check that tire width and diameter fit the carrier’s wheel cradle and straps without forcing the rubber or pinching the tire.
Quick fit checklist for common MTB and road setups
| Bike setup | What to verify | Practical tip |
|---|---|---|
| Road bike (narrow tires) | Front interface standard and strap tension | Use even strap pressure; avoid overtightening on carbon rims. |
| XC/Trail MTB | Tire width and wheelbase fit on the roof footprint | Angle the bike slightly to maximize bar/roof clearance. |
| Enduro/Downhill-style MTB | Handlebar width and tall stack height | Test fit stationary to ensure bars don’t contact roof or hatch. |
| Thru-axle bikes | Adapter compatibility and secure engagement | Confirm axle adapter is fully seated before applying suction. |
| Carbon frame/fork | Clamp/contact points and vibration control | Add protective film where any strap may rub during travel. |
What a good installation looks like (fast, clean, repeatable)
The difference between a stressful drive and an easy one is usually prep. A repeatable install routine helps you avoid sealing suction cups over grit, placing the bike too close to seams, or rushing strap tension.
- Choose placement: Keep the load centered over strong roof areas. Avoid mounting too close to windshield edges, roof seams, or sunroof boundaries where curvature changes.
- Clean contact zones: Use a lint-free cloth on both the roof and pads. Remove dust, wax residue, pollen, and any fine grit that can compromise sealing and leave marks.
- Apply suction: Press firmly and engage each cup until it is fully sealed. If your system has indicators, confirm they show a secure hold.
- Mount the bike: Follow the carrier’s loading sequence. Keep the bike supported while engaging the front interface and then securing wheel straps.
- Stabilize loose parts: If the front wheel comes off, secure it so it can’t bounce or strike the frame. Strap pedals or cranks if they tend to swing.
- Final tug test: Shake the bike side-to-side and fore-aft. Nothing should creep on the roof, shift in the interface, or loosen at the wheel straps.
Pre-drive safety routine that prevents most issues
A suction roof carrier rewards drivers who treat checks as a habit, not a one-time step. A short routine is often enough to catch strap slack, a cup that didn’t fully seal, or a height oversight.
For general securement principles that align with safe transport practices, review the FMCSA cargo securement overview and apply the mindset: secure, redundant where possible, and re-checked.
Road-trip readiness: loading patterns for one or two bikes
Care, cleaning, and storage for long-term suction performance
Common issues and quick fixes
Recommended add-ons from our store
- Versatile Suction Roof-Top Bike Carrier – Easy Install for MTB and Road Bikes
- Crystal Moon & Star Car Vent Clips
- Retro Corduroy Hair Scrunchies & Headbands – Large, Soft & Stylish
FAQ
Will a suction roof-top bike carrier fit both MTB and road bikes?
Often, yes—if the carrier supports your front-end standard (quick release or thru-axle with the right adapter) and your tire size fits the wheel cradle and straps. Before buying, confirm whether the carrier requires front wheel removal and check handlebar clearance on your roof.
How often should suction cups be checked during a drive?
Check after the first 5–10 minutes of driving, then again at each fuel or rest stop. Re-check more frequently when temperatures swing, it rains, or the roof gets dusty.
Can a suction-mounted carrier be used in rain or heat?
Yes, as long as it’s mounted on a clean, smooth surface and you monitor seal feel (and indicators, if present) as conditions change. Rain, heat, and road grime make regular re-checks especially important.


Leave a comment